You don’t need a design degree or a $50/month Adobe subscription to build thumbnails that stop the scroll. Canva has become the go-to tool for creators at every level precisely because it pairs a genuinely intuitive drag-and-drop editor with AI features that used to require real Photoshop skill. In 2026, your thumbnail isn’t a nice-to-have — it’s the billboard that decides whether your video gets watched or buried. This guide walks you from a blank canvas to a finished, click-worthy thumbnail, step by step.
The 10-Step Tutorial
1. Open Canva and start your design. Log in, click “Create a design,” and search “YouTube Thumbnail.” Canva auto-generates a canvas at the correct 1280×720 dimensions, so you don’t have to think about sizing at all.
2. Pick a template, or don’t. Browse the Design tab and search by your niche — “gaming thumbnail,” “finance,” “vlog.” A template gives you a head start, but a blank canvas works just as well if you already know your layout.
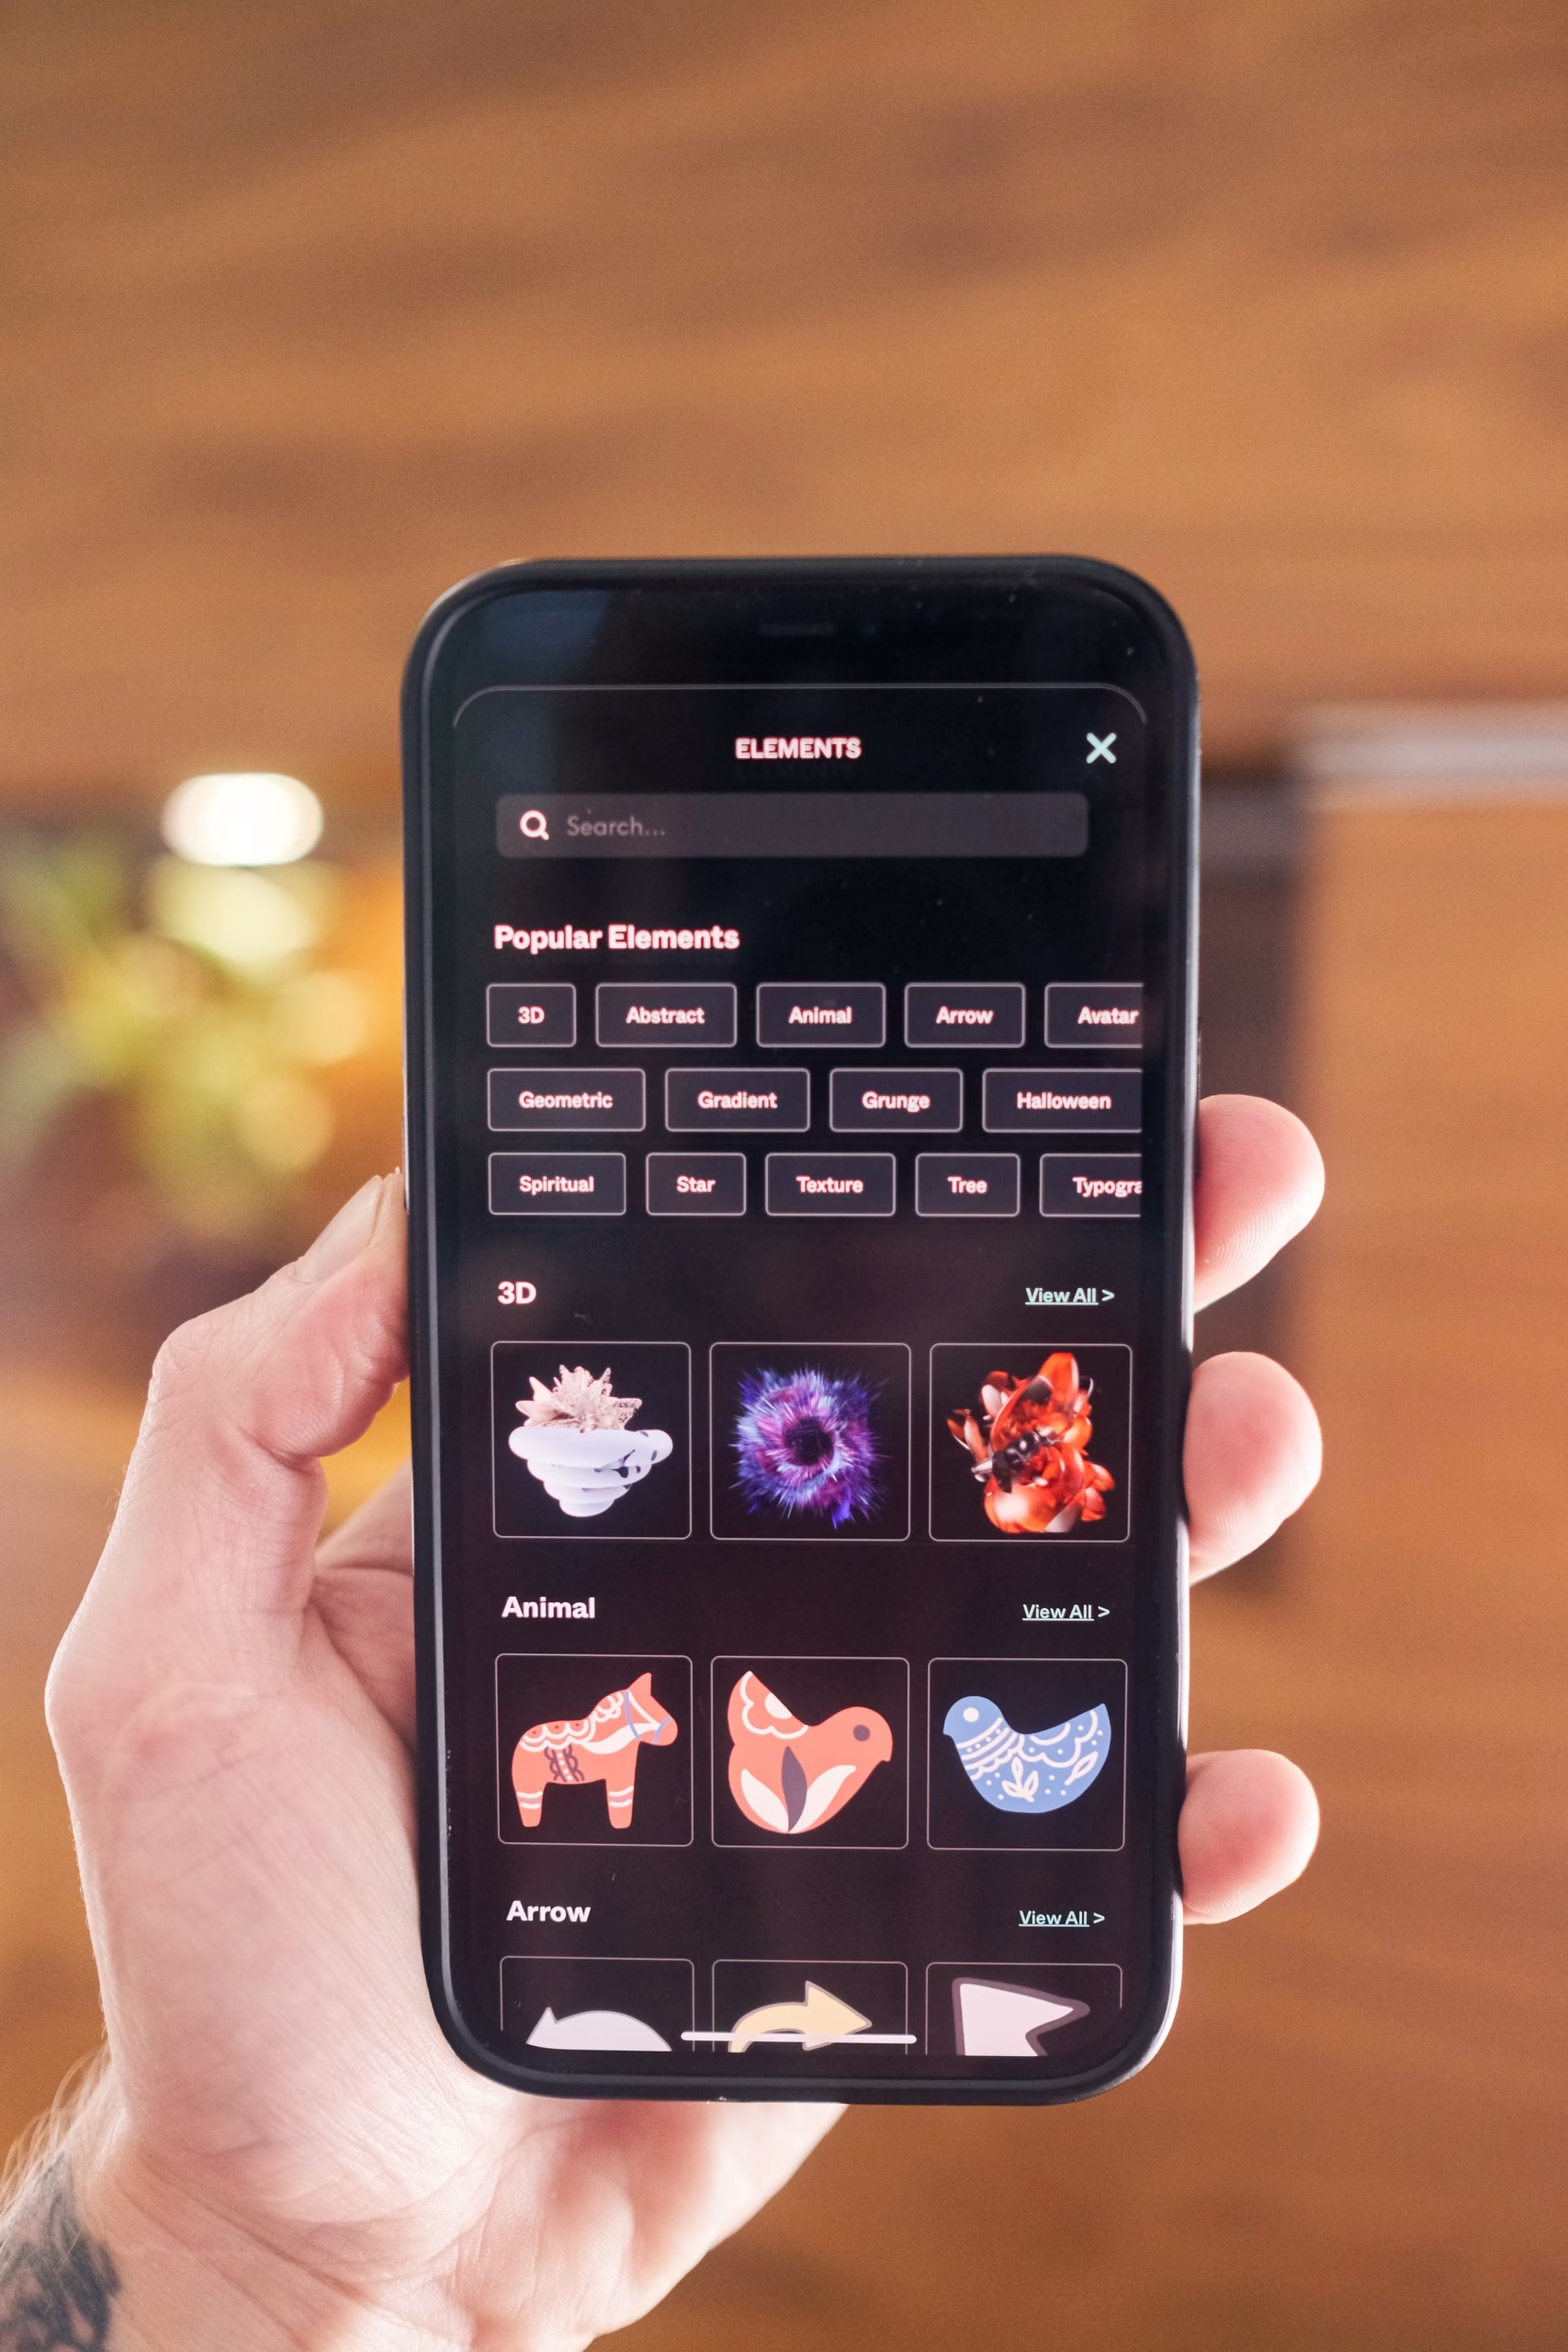
3. Build your background first. Depth matters. Upload your own photo or pull one from Canva’s Elements library, right-click it, and choose “Set image as background.” A slight blur or darkening pass here helps whatever you put in the foreground actually stand out.
4. Upload and isolate your subject. Drop in a photo of yourself with a strong, clear expression. If you’re on Canva Pro, the one-click Background Remover under “Edit Photo” cuts you out instantly — no manual masking required.
5. Add an outline to your subject. This is the detail that gives thumbnails that recognizable YouTube “pop.” Select your cutout, go to Edit Photo → Shadows → Outline, choose a bright color like white or neon yellow, and push the size to around 8–12 with full intensity.
6. Write your text hook. Hit “T” for a text box. The golden rule: your thumbnail text should never repeat your title — it should tease it. Keep it under five words, and lean on bold, heavy sans-serif fonts like Impact, Anton, or Montserrat Black.
7. Make the text unmissable. Apply a strong shadow or “Lift” effect from the Effects menu so your text separates cleanly from the image behind it. A solid color block behind the words works too if the background is busy.
8. Add one or two supporting elements. Arrows, icons, a logo, a currency symbol — whatever reinforces your hook. Resist the urge to add more than two. Every extra element is one more thing competing for attention it doesn’t need to fight for.
9. Grade your colors. Under Edit Photo → Adjust, nudge saturation and contrast up slightly. Thumbnails that perform well tend to look a touch more vivid than real life — that’s intentional, not a mistake.
10. Preview small, then download. Zoom your canvas to 10% to see how it reads at mobile size. If the text isn’t instantly legible, it’s too small or too cluttered — fix it before exporting. Download as JPG to stay comfortably under YouTube’s 2 MB upload limit.
Layout Templates Worth Searching For
Rather than scrolling endlessly, search Canva for these proven structures based on your content type:
- Before & After Split — ideal for fitness, tech reviews, renovations; the visual proof of change does the persuading for you.
- Giant Head + Arrow — a staple for reaction and commentary content, using direct eye contact paired with an ambiguous object to spark curiosity.
- Financial Breakdown — green arrows, upward charts, oversized numbers; built for crypto, investing, and business content.
- Minimalist Text Hook — a shocking two- or three-word phrase on a dark background, best for storytime and essay-style videos.
- Neon Gaming Glow — saturated colors and glowing 3D-style text, tailored for gaming and stream highlight channels.
Canva’s AI Tools Worth Knowing
Canva’s Magic Studio suite goes well beyond templates:
- Magic Grab isolates the subject of any stock photo and lets you reposition it freely, without manual cutting.
- Magic Expand uses AI outpainting to stretch a square photo into a proper 16:9 frame, filling in the missing edges convincingly.
- Magic Eraser removes distracting objects, logos, or people from a background photo and fills the gap seamlessly.
Canva Free vs. Canva Pro: Is It Worth Paying?
| Feature | Free | Pro |
|---|---|---|
| Premium templates | Limited | 610,000+ |
| Background remover | Not included | Unlimited |
| Resize for other platforms | Manual | Instant |
| Brand kit | 3 colors | Full logo/font/color kit |
| Cloud storage | 5 GB | 1 TB |
| Stock assets | 1M+ free | 100M+ premium |
| Price | Free | $14.99/month |
If you’re publishing regularly, the background remover and unlimited premium assets alone tend to pay for themselves in saved editing time.
8 Design Rules That Actually Matter
- Rule of thirds. Turn on Canva’s grid guides and align your subject’s eyes or focal point along the intersecting lines.
- Color psychology. Red signals urgency, yellow grabs attention, blue reads as trustworthy, green implies growth — pick with intent, don’t clash colors at random.
- Respect the safe zone. Keep faces and text out of the bottom-right corner; YouTube’s timestamp overlay will cover it.
- Run the squint test. If a blurry, squinted glance doesn’t tell you what the thumbnail’s about, the contrast isn’t strong enough.
- Limit your fonts. One bold font for the hook, one clean font for a subtitle if truly necessary. Skip script and cursive entirely.
- Exaggerate the expression. A polite smile won’t cut it — wide eyes and open-mouth reactions read as high-stakes and pull the eye.
- Push contrast hard. Light text on dark backgrounds or vice versa, reinforced with outlines and shadows.
- Simplify ruthlessly. Treat it like a highway billboard, not a movie poster — it has to land in a glance, not a study session.
Conclusion
Canva has put the same design toolkit used by top creators into anyone’s hands, free or not. The formula underneath all of it stays consistent: an expressive, isolated subject; a short, curiosity-driving text hook; strong contrast against a clean or blurred background; and a design that respects YouTube’s safe zones. Get those fundamentals right, and the software does the rest.
Frequently Asked Questions
Is Canva actually free?
Yes — the free plan gives you real functionality: thousands of templates, over a million stock photos, and 5 GB of storage, with no time limit or trial expiration. You’ll hit its ceiling once you want the background remover or premium assets, but you can build a complete thumbnail without ever paying.
Can I use Canva templates commercially on YouTube?
Generally yes. Canva’s licensing allows templates and most stock elements to be used in commercial content, including monetized YouTube videos. The exception is reselling a template as-is or using certain premium elements outside their intended use — always check the specific license note on an asset if you’re unsure, especially with Pro-only content.
What’s the best workaround if I don’t have Canva Pro for background removal?
A clean, evenly lit photo against a plain, solid-colored backdrop is your best bet — it makes manual cropping with Canva’s basic tools far easier. Free third-party background removers (several browser-based tools exist) can also strip a background before you upload the image into Canva.
Does Canva have templates specific to YouTube?
Yes, extensively. Searching “YouTube thumbnail” pulls up a dedicated category, and you can narrow further by niche — gaming, finance, vlog, tutorial — to get layouts already built around what performs in that space.
What file format should I download from Canva?
JPG is the standard choice for thumbnails. It compresses well, keeps file size comfortably under YouTube’s 2 MB cap, and preserves enough quality for a small image that’s mostly viewed at thumbnail size anyway. PNG is only worth it if you need transparency, which a finished thumbnail won’t.
Can I upload my own fonts to Canva?
Yes, but only on Canva Pro. Free accounts are limited to Canva’s built-in font library, which is still large, but Pro unlocks custom font uploads — useful if you’re maintaining a consistent brand typeface across your channel.
Is Canva good for beginners?
It’s arguably the most beginner-friendly design tool available. The drag-and-drop interface, pre-sized templates, and guided AI tools remove most of the learning curve that used to make tools like Photoshop intimidating for non-designers.
Can I edit my thumbnails on my phone?
Yes — Canva’s mobile app carries over most of the desktop functionality, including templates, text editing, and basic photo adjustments. Some advanced features (like certain Magic Studio tools) are better suited to desktop, but quick edits and even full thumbnails are doable entirely from a phone.